Model Management
Modelibr helps you organize and manage your 3D model library with automatic thumbnails, version control, and easy navigation.
Uploading Models
Drag and Drop
The easiest way to upload models is to drag and drop files directly onto the Model Library panel.
Supported formats: GLB, GLTF, FBX, OBJ, Blend
What Happens After Upload
- Model Created - A new model entry appears in your library
- Thumbnail Generated - The worker service renders a preview image
- Ready to View - Click to open in the 3D viewer
You can drag multiple files at once. Each file becomes a separate model.
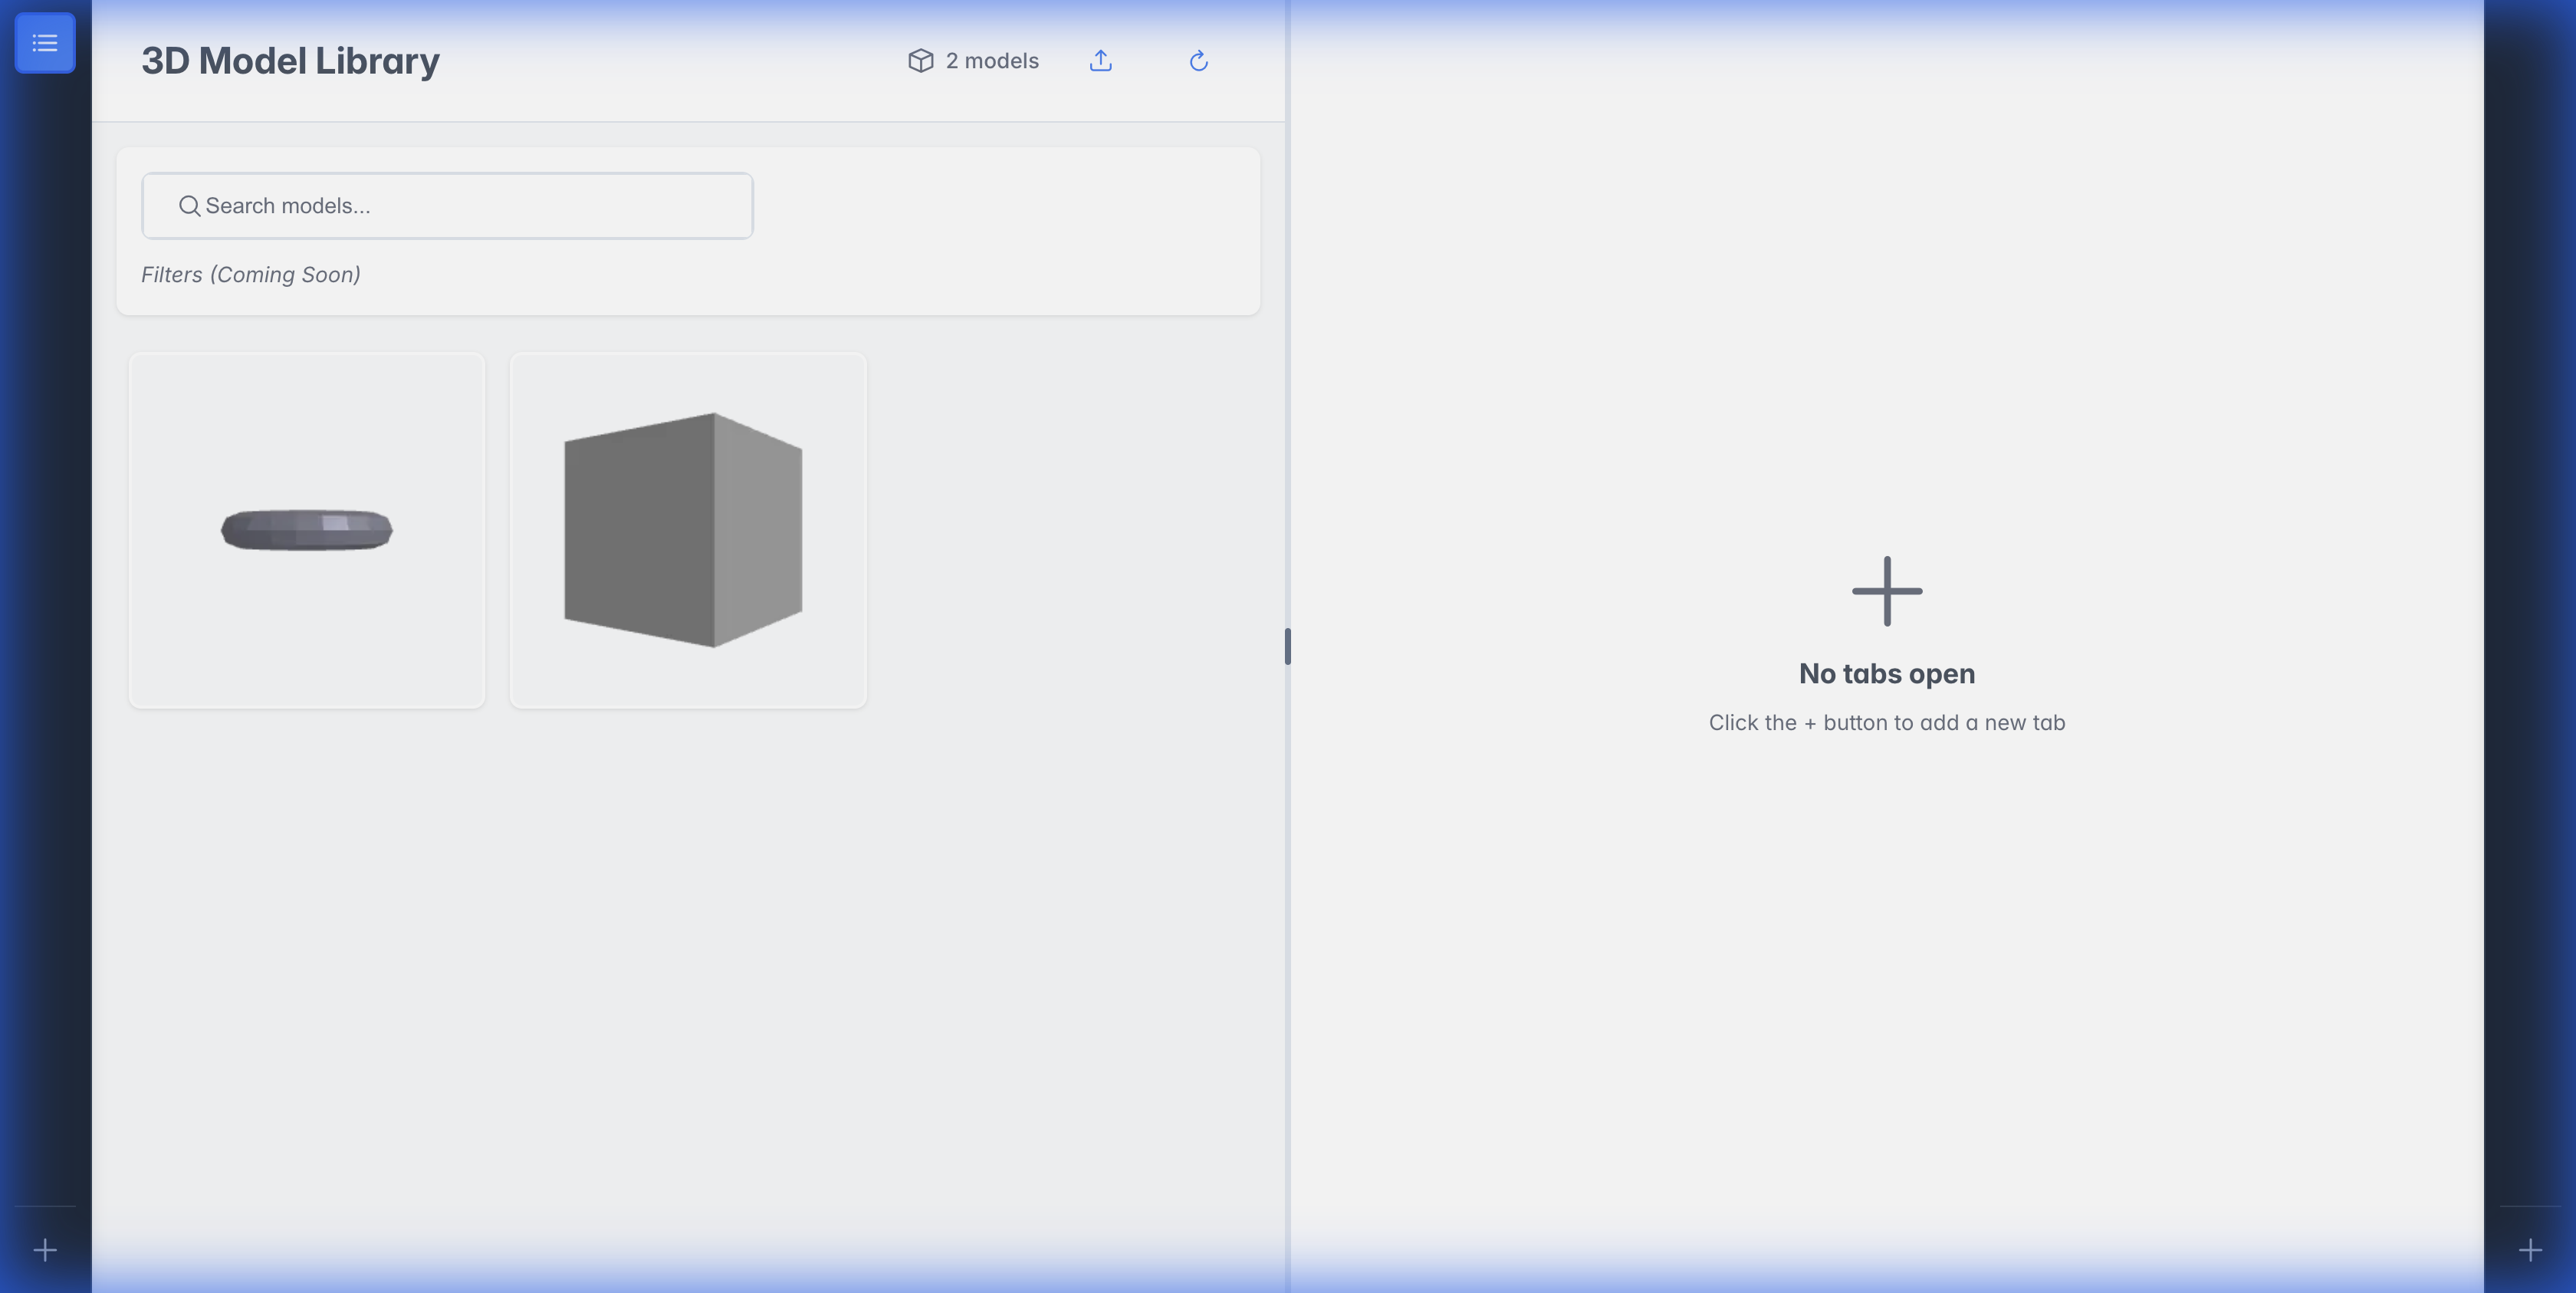
Viewing Models
Click any model card to open it in the 3D viewer:
Viewer Controls
| Control | Action |
|---|---|
| Left Click + Drag | Rotate camera |
| Right Click + Drag | Pan camera |
| Scroll Wheel | Zoom in/out |
| Double Click | Reset camera |
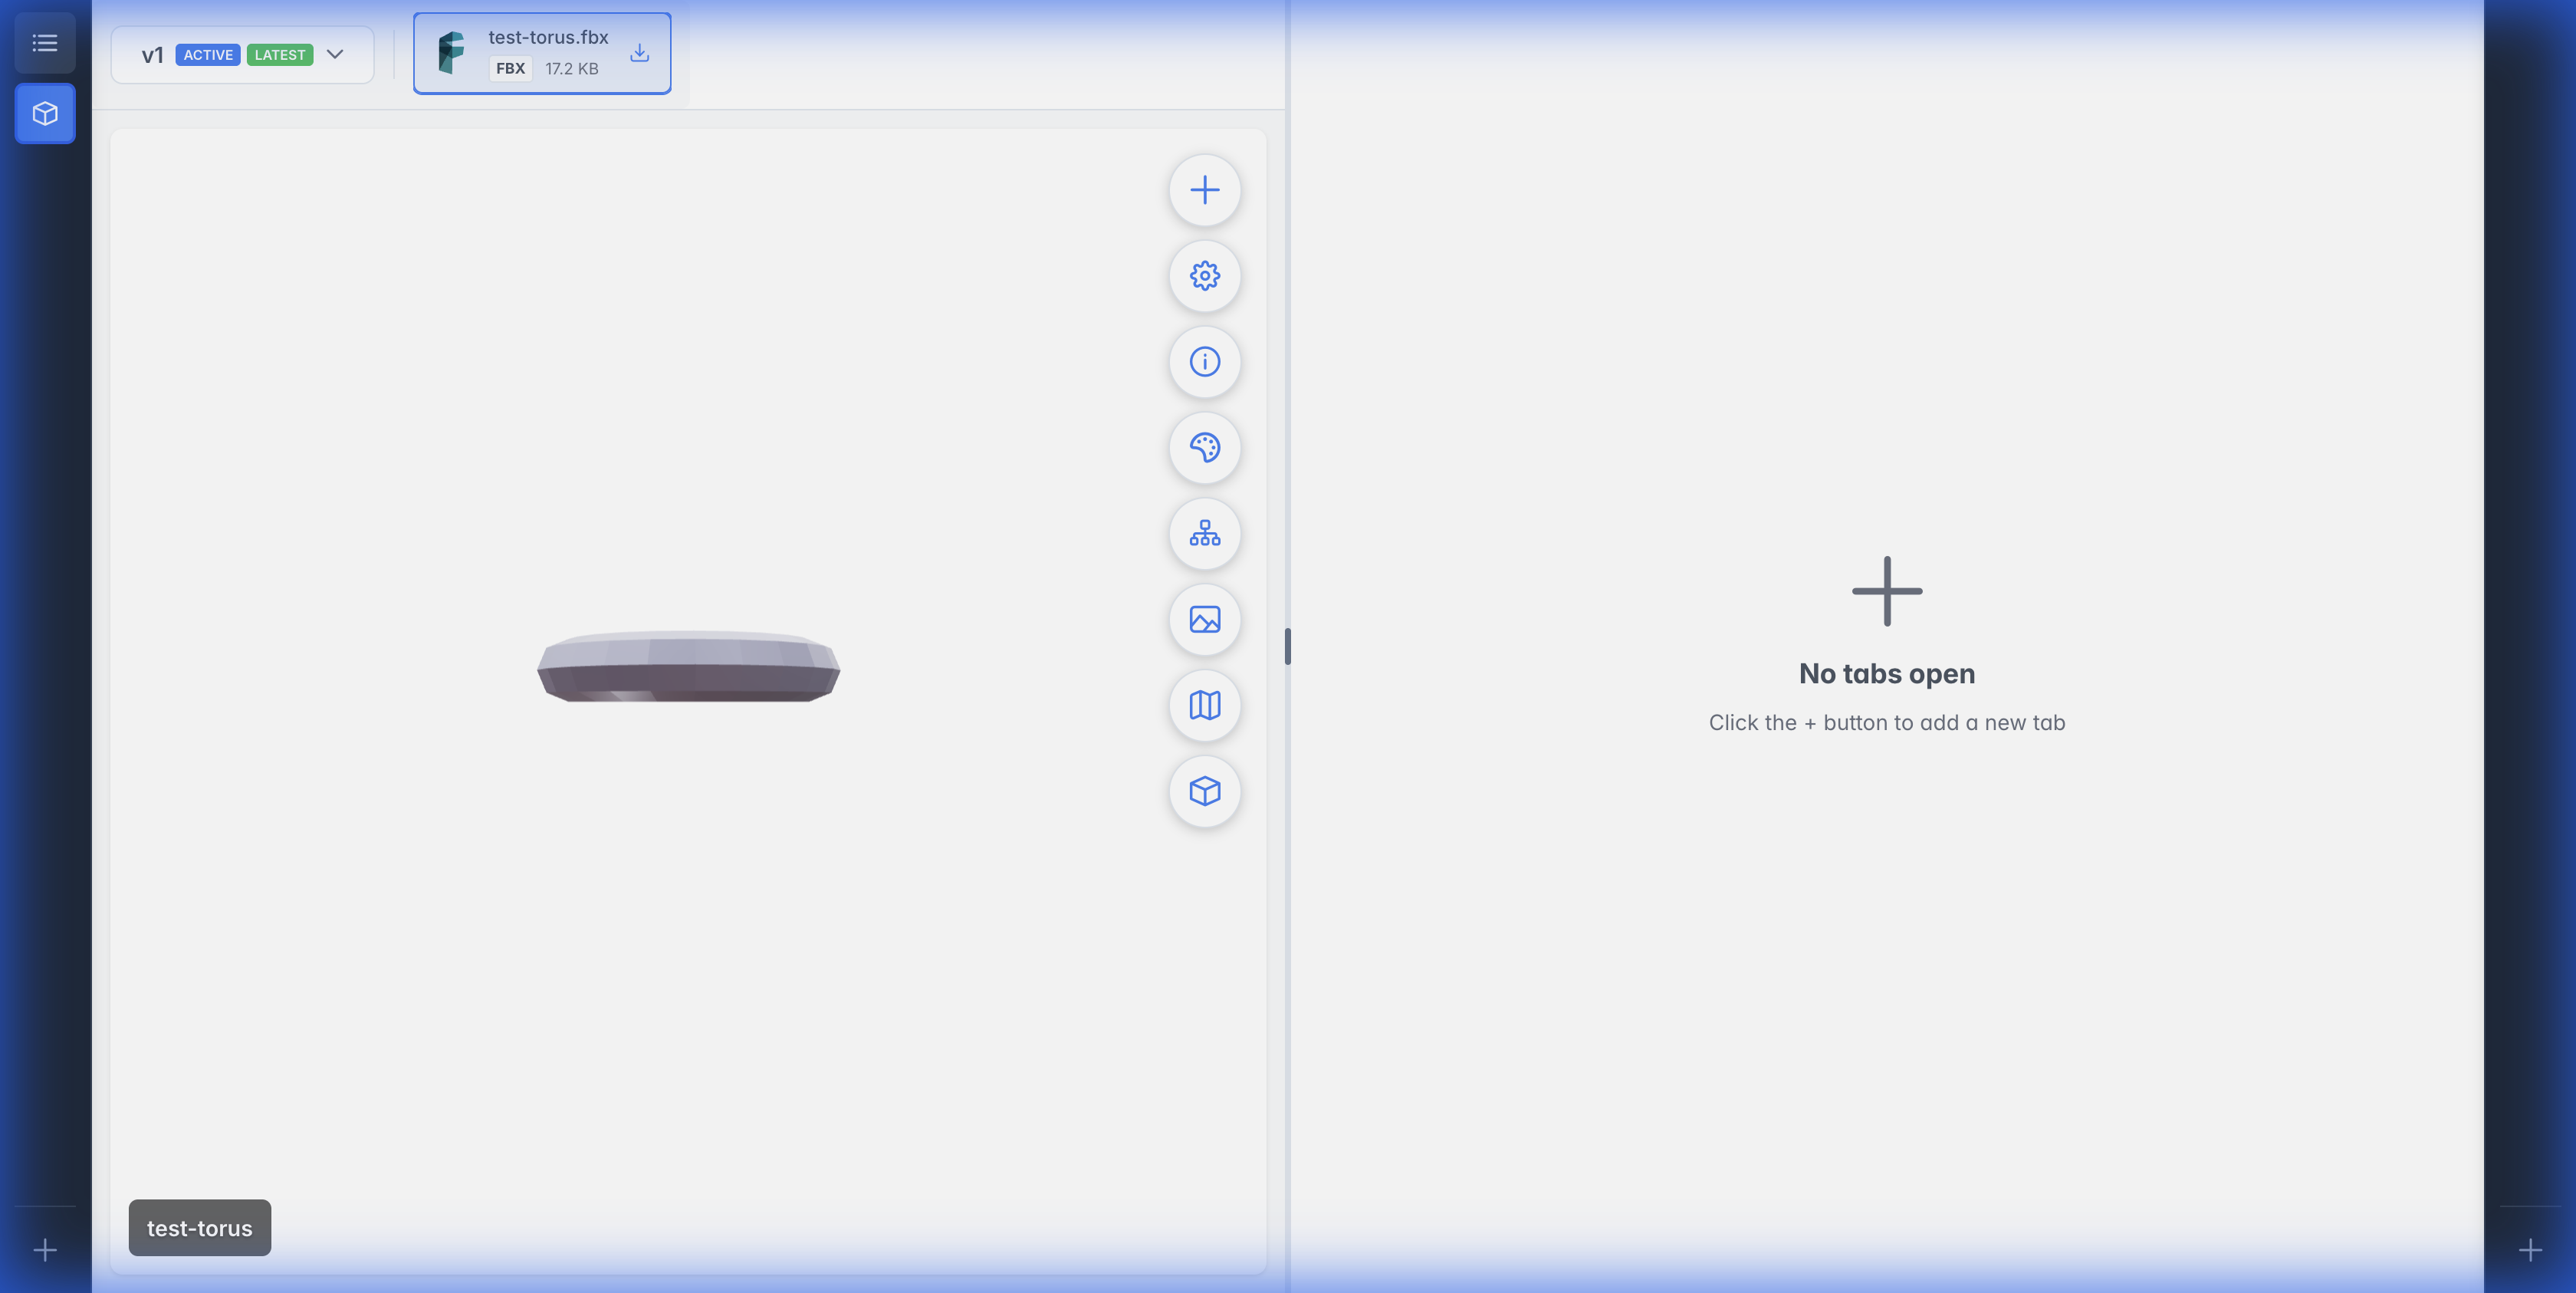
Control Buttons
The viewer includes floating control buttons:
- Add Version - Upload a new version of this model
- Viewer Settings - Adjust lighting and environment
- Model Info - View file details and metadata
- Texture Sets - Apply textures to the model
- Model Hierarchy - Explore mesh structure
- Thumbnail Details - View and regenerate thumbnail
- UV Map - Preview UV mapping
Version Control
Each model can have multiple versions, allowing you to track changes over time.
Adding a New Version
- Open a model in the viewer
- Click Add Version
- Select a new model file
- Optionally add a description
- Choose whether to set as active version
Switching Versions
Use the version dropdown in the viewer header to switch between versions. Each version has its own:
- Thumbnail
- File(s)
- Default texture set
Deleting Models
Models are soft deleted to the Recycle Bin, allowing recovery if needed.
- Right-click on a model card
- Select Recycle
- Model moves to Recycled Files
Deleting a model with multiple versions will recycle all versions together.