Texture Sets
Texture Sets allow you to manage PBR (Physically Based Rendering) textures and apply them to your 3D models.
What is a Texture Set?
A Texture Set is a collection of texture images that define a material's appearance:
| Texture Type | Purpose |
|---|---|
| Albedo | Base color/diffuse |
| Normal | Surface detail bumps |
| Metallic | Metal vs non-metal areas |
| Roughness | Surface smoothness |
| Ambient Occlusion | Soft shadows in crevices |
| Emissive | Self-illuminating areas |
| Height | Displacement mapping |
| Opacity | Transparency |
Creating Texture Sets
From the Texture Sets Panel
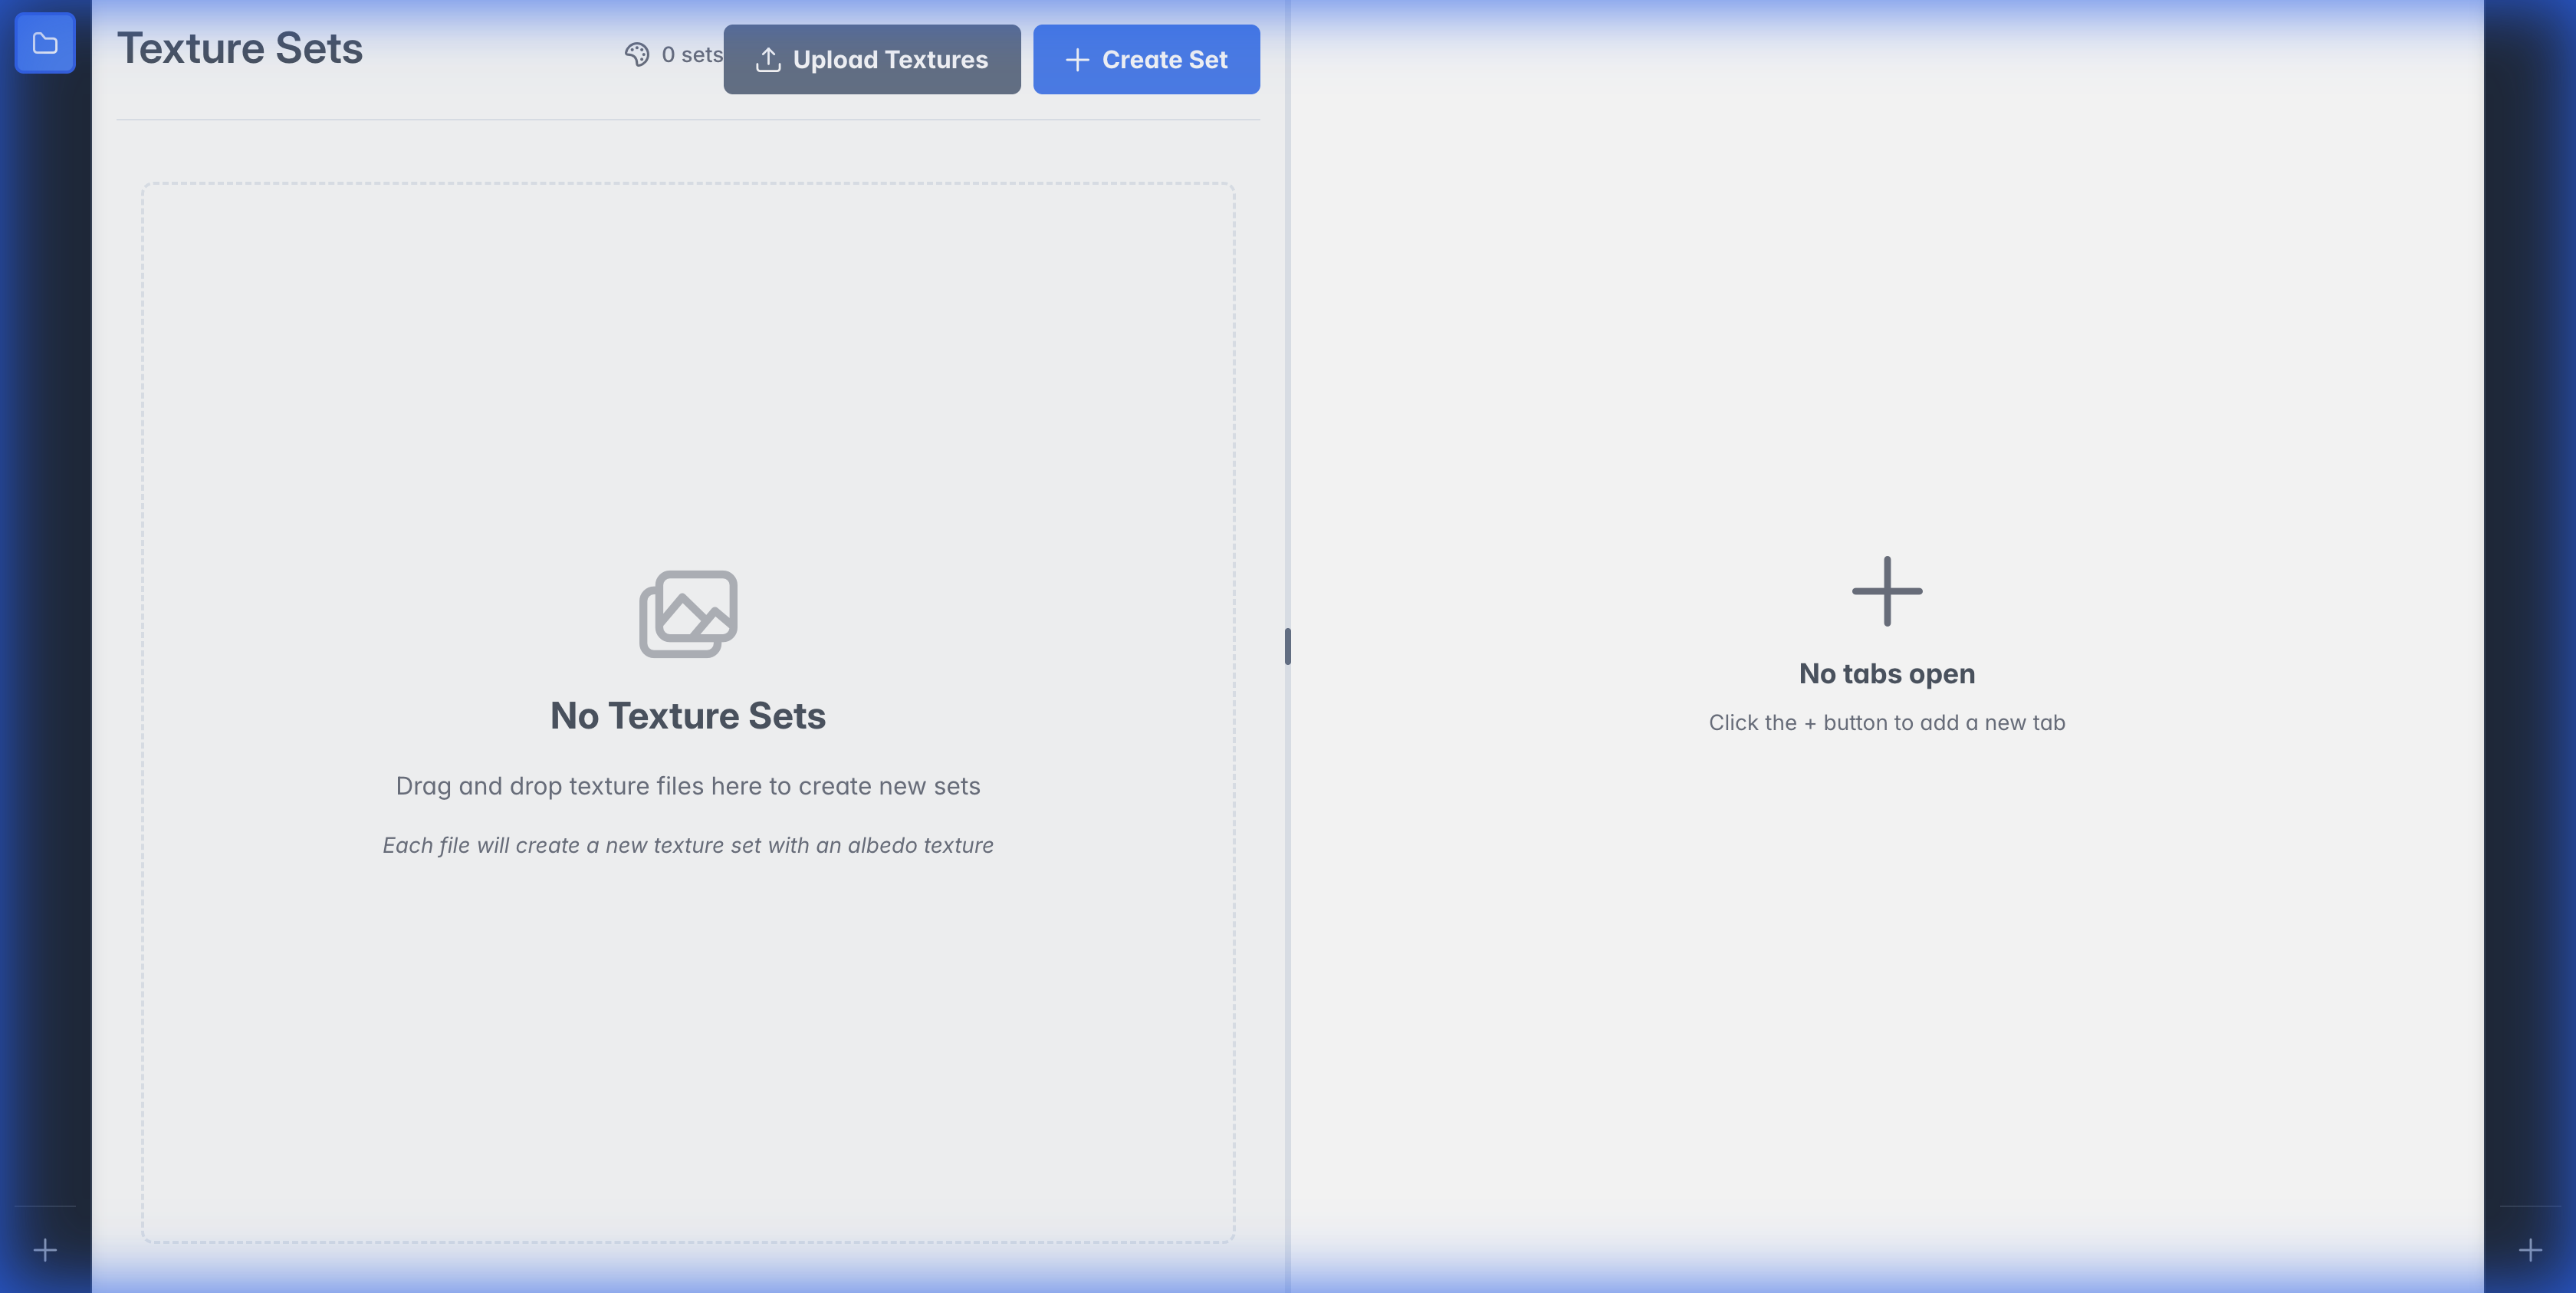
- Navigate to the Texture Sets tab
- Click Upload Textures or drag and drop image files
- A new texture set is created automatically, named after the file
From the Model Viewer
- Open a model in the viewer
- Click the Texture Sets button
- Upload textures directly to link them to the model
Linking Texture Sets to Models
Texture sets are linked to model versions, not models. This means different versions can have different textures.
To Link a Texture Set
- Open the model in the viewer
- Click Texture Sets button
- Select a texture set from the list
- Click Link to associate it with the current version
Setting Default Texture
Each model version can have one default texture set that:
- Displays in the library thumbnail
- Loads automatically when viewing the model
To set default:
- Link the texture set to the version
- Click Set as Default
Changing the default texture will regenerate the model's thumbnail.
Version Independence
Each model version maintains its own default texture set independently:
- Version 1 can have "Metal" as default
- Version 2 can have "Wood" as default
- Switching versions automatically loads that version's default texture
This allows you to preserve the intended look for each version of your model.
Previewing Textures
You can preview different textures without setting them as default:
- Open model in viewer
- Select a linked texture set
- The 3D view updates immediately
- Switch between textures to compare
Channel Mapping
Modelibr supports channel-packed textures like ORM (Occlusion/Roughness/Metallic) maps. You can extract individual channels from multi-channel images and assign them to different texture types.
Texture Set Viewer Tabs
When you open a texture set, you'll see these tabs:
Texture Types Tab
Shows cards for each texture type (Albedo, Normal, Roughness, etc.):
- Click an empty card to upload a texture for that type
- Drag and drop files onto cards to replace
- Grayscale preview: Non-RGB textures show their extracted channel as grayscale
Files Tab
Shows the source files used in the texture set:
- File preview: Thumbnail of the original image
- RGB dropdown: Shows how RGB channels are used (use merge dialog to change)
- R/G/B dropdowns: When Split Channels is selected, change which texture type each channel represents
- A dropdown: Change what the alpha channel is used for
- Used as: Shows which texture types this file provides
You can change which texture type a channel represents (e.g., change R from "Roughness" to "AO"). To set up the initial channel split from an ORM texture, use the Merge Dialog.
Height/Displacement/Bump
These three texture types are mutually exclusive — only one can be active per texture set:
- Special card with a mode dropdown
- Switching modes changes the texture type
- Helps when importing to Blender (determines shader node type)
Merging Texture Sets
Drag one texture set onto another to merge:
- Merge dialog appears showing source files
- For each file, choose channel mapping:
- Use RGB as a single texture type, OR
- Split into individual R/G/B channels
- Assign texture types to each channel
- Click Merge Textures
For ORM packed textures:
- Select Split Channels for RGB
- Assign: R → AO, G → Roughness, B → Metallic
- Merge to automatically create three separate textures
Managing Texture Sets
Renaming
Right-click a texture set and select Rename.
Deleting
Texture sets are soft deleted to the Recycle Bin:
- Right-click the texture set
- Select Recycle
Deleting a texture set will unlink it from all model versions using it.